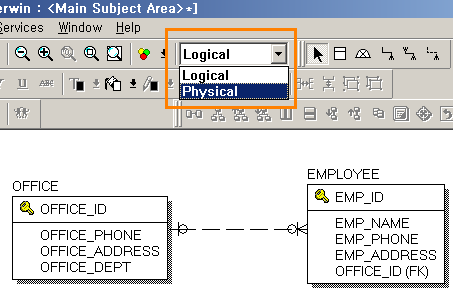
논리설계를 완성했다면 물리설계를 거쳐 해당 데이터베이스에 특화된 설계를 해야하며 이 단계를 물리설계라고 한다. 먼저 완성된 논리설계 다이어그램을 다시 불러들여서 다음과 같이 Logical 을 Physical으로 변경해 준다.
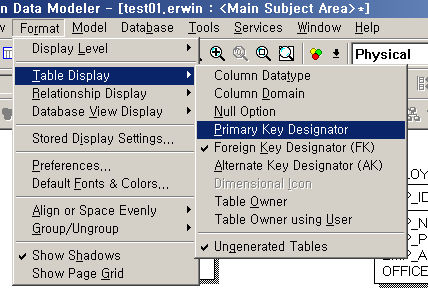
Physical 상태로 변경하면 다음과 같이 프라이머리 키를 나타내기 위해 사용했던 키 모양의 그림이 사라지는 경우가 있는데, 이런 경우에는 다음과 같이 설정해 주면 된다.
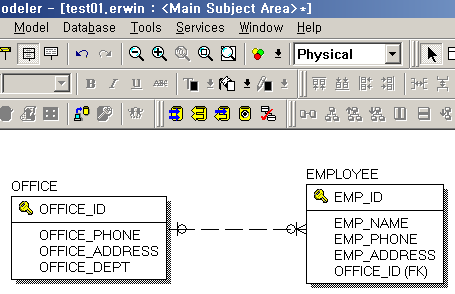
위와 같이 설정해 주면 다음과 같이 키 모양의 이미지가 다시 나타나는 것을 확인할 수 있다.

Column Datatype 을 선택한 결과, 다음과 같이 각 컬럼의 디폴트 자료형이 나타나는데 엔티티 노테이션을 더블클릭하면 원하는 자료형으로 변경할 수가 있다.
엔티티 노테이션을 더블클릭하면 다음과 같이 자료형 설정창이 열리므로 여기서 해당 데이터베이스 시스템 탭을 선택하여 특정형의 자료형으로 각 컬럼을 설정해 주면 된다.
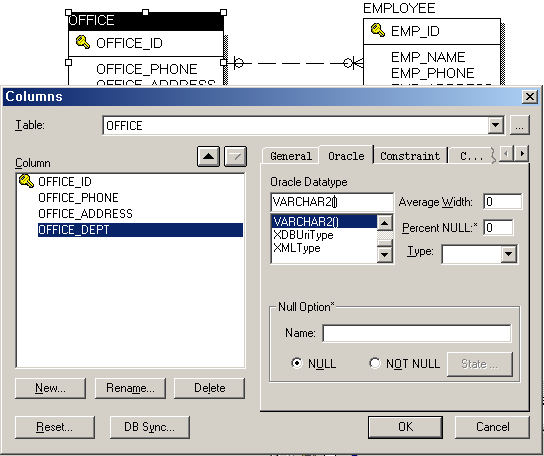
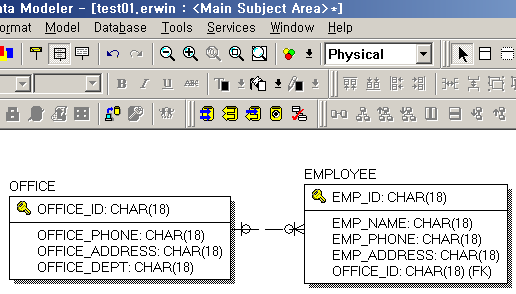
위의 자료형 설정예는 오라클 데이터베이스 시스템에 적합한 경우이다. 최종적으로 자료형이 설정된 상태의 엔티티는 다음과 같은 모습을 보여준다.
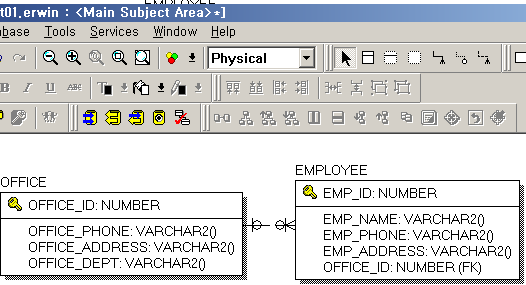
이로써 물리설계 단계가 완성되었으며, 이 설계대로 대상 데이터베이스 시스템에 테이블을 생성하면 된다.


